Kitchen backsplash designs overview
You have a blank slate—a tabula rasa in Latin—where your mind in its hypothetical pristine and primary blank or empty state before receiving outside impressions—from the stuff from which you can create your masterpiece backsplash. Ideas will come to you to conceptualize and finalize your own wall art creating your kitchen backsplash designs statement with your own creative artwork from copper, glass slate, wood, ceramic, mosaic tiles, stones, tin, and paper that will pique your interest in creating and inspiring your finished backsplash. You can create from thousands of patterns and striking materials. From simple to the sublime, it’s all for you to decide. Gone are the days of only protecting walls from splatters, spills, strokes, and swipes. Today’s kitchen’s backsplash is the central point of the hub—the kitchen.
What is Your Preference?
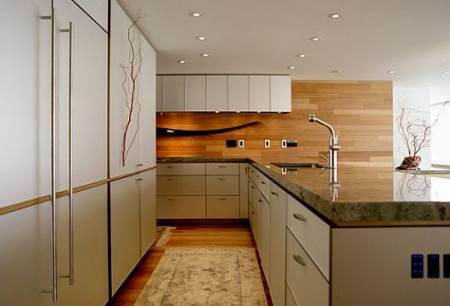
Sometimes homeowners want a simple, one solid color using the plethora of materials on the market. Some prefer glass with metal—if you need help, peruse the kitchen remodeling photos for inspiring, inventive, and clever ideas.
Licensed kitchen remodeling contractors love to show off their work. You can find them online, in the phone book, and from your family and friends who have done a backsplash in their kitchen. A contractor can make the template, fabricate, and come up with kitchen backsplash designs in a reasonable time. And, you can do the installation yourself—see below.
Backsplash Ideas for Granite and Marble Countertops
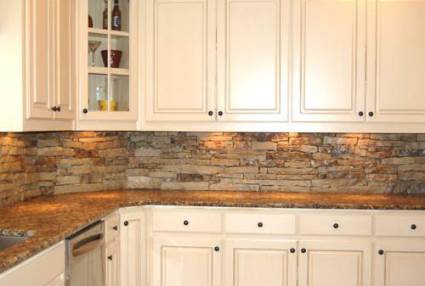
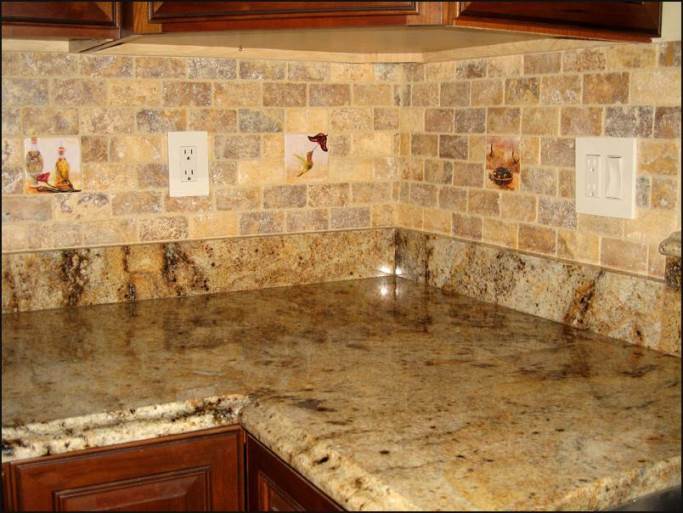
Your granite or marble countertop with a stunning backsplash is now affordable improving the value and appearance of your kitchen. Natural stones, quartz, marble, and granite are good looking and go well with granite and marble countertops. These are easy to care for and just as easy to maintain. Faux (artificial) stone backsplashes can be created for under $100.
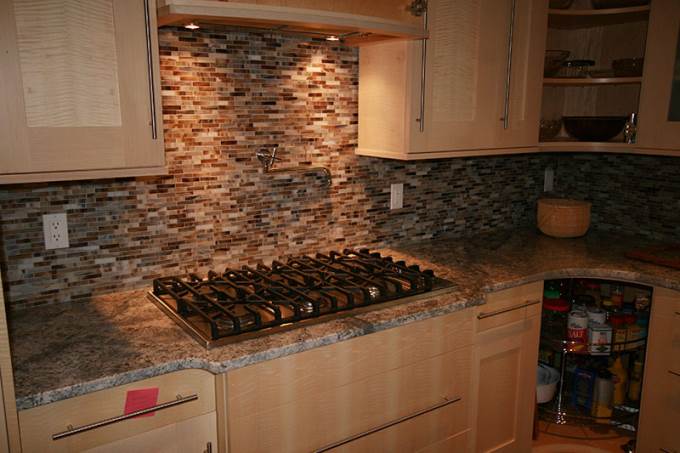
Peel-and-stick tiles are inexpensive to do and will show off your backsplash as a beautiful design and no one needs to know. There are many options: decorative kitchen backsplash tiles, small kitchen designs, kitchen tile designs, and black and white kitchen tile backsplash ideas from which to choose. Opt for modern glass, pop art, mosaic, country, contemporary, and lots of patterns and styles for an all-stainless steel kitchen, and a favorite, the subway tile kitchen.
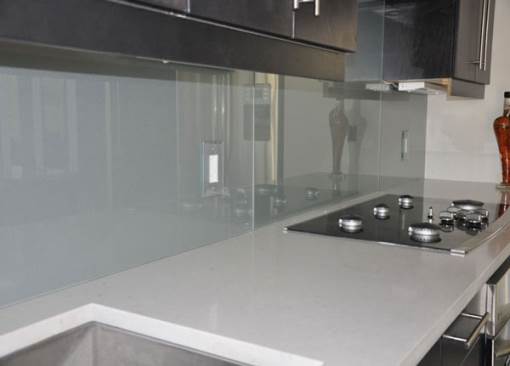
Furthermore, one also has the option to go for glass backsplashes, not as popular as the other two but still worth considering. These are a rather unique type of backsplashes, coming in various colors and sizes. Also referred to as acrylic-block, they’ve the potential to give that much needed touch of style and beauty to your kitchen
They usually tend to be a component of an exterior wall, and need to handled carefully. One of the attractive things about them is that they allow the natural light to come in, making them look even shinier and attractive.
Transforming Your Kitchen Space
Find your color pallet pizzazz for your livable luxe and décor schemes at online showrooms or at your local home improvement center. Weather you will hire a contractor or do your kitchen backsplash yourself, you are still the one who knows what you like and want. Your family and guests will envy your beautiful space. As you know, the backsplash and countertops are the underpinning for your kitchen.
Today, we have a market place brimming with ideas and styles for choosing and coordinating countertops and floors to the backsplash.
Install a Kitchen Backsplash Yourself
The backsplash, DIY kitchen backsplash installer will find this is easy to do on a budget and the cost is inexpensive. It can be messy, but it can be done by almost anyone. You will need:
- Ceramic Tile Adhesive to hold the tile to the wall
- V-notched Trowel to apply tile adhesive to the wall
- Non-sanded grout for sealing between tiles
- Spacers, if needed
- Rubber (not plastic) Grout Float for smoothing and removing excess grout
- Tile Cutter for cutting and trimming tiles
- A Two-foot Level to be sure the top row of tiles are level
- Tape Measure for measuring the wall area and cutting tiles to size
- Sponge for wiping off excess grout and clean the surface
- Bucket of water for cleaning the sponge
You will need all the items above and the hand tools to cut and trim the tile. Be sure your measurements for the kitchen backsplash designs area to be tiled are perfectly accurate.
- Drop cloths or old sheets for your counter tops and floors; nothing with fuzz
- Purchase the single tiles or sheets of tile getting enough for the area plus some extras for breakage at the same time, and select the trim for going around the tile
- Clean the wall area where the tiles are to be applied removing any electrical outlet covers and prep the area
- Turn off power to outlets to avoid injury or shock with metal tools and wet supplies
- Due to food and water damage, the area behind the faucet might need to be sanded if it has a bumpy or orange peel surface. Use a buffer to smooth the sanded area.
- After you have prepared the area and have cut the tiles to the exact size, apply the adhesive to the wall with the V-notched trowel
- Apply more adhesive and attach the tile sheets keeping them plumb, level, and true
- Cut the tiles to fit around the outlet space being sure the covers will fit properly
- You might want to cut and attach the trim as you go or do it at the end
- After the adhesive is dry, apply the grout very evenly covering the tiles and grooves
- Wipe off excess with the rubber float and after that is done, use the sponge to remove all remaining grout and film over the tiles
- Replace the outlet covers after the grout is thoroughly dry. Don’t hurry this; depending on humidity, it could take a few hours. It might be a good idea to let it dry overnight. Turn the power back on.
Doesn’t it look great? You should be proud of yourself installing your very own backsplash.
Images found on:
http://hotbeansvegan.net
http://installplusinc.com
http://www.cindynoe.com
http://etsnakhle.com
http://www.cnbhomes.com
http://olpos.com

